Thank you for purchasing our property plug-in!
We created this documentation as clearly as possible to cover the needs of our basic user included a novice or beginner level. Hope you understand and able to find this useful in order for you to get started. But, in case there’s still a question, please do let us know by reaching us at our support center
1. Plugin Installation process
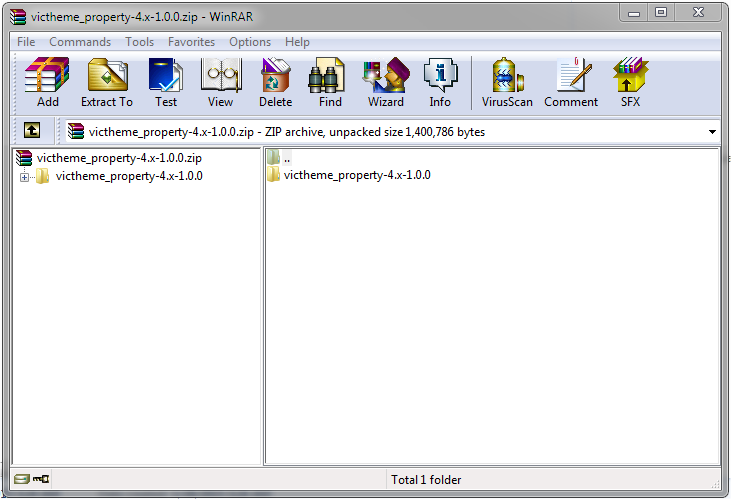
- Before install the plug-in, be sure to have the correct files that you have downloaded from the marketplace where you purchased the plug-in. The file you downloaded should look like this


- If you have missing files or corrupted file, please re-download again and if the problem still persists, please contact our support team for further assistance.
- After you have the correct files, you can install the plug-in by uploading the file from Plugins section on your WordPress dashboard. this is the image to show on how to do so:


- Since the Property plug-in has maps plugin included within the file, please make sure to upload the victheme_core.zip first if you don’t have VicTheme Core Plug-in installed as the property plugin won’t work without this VicTheme core.
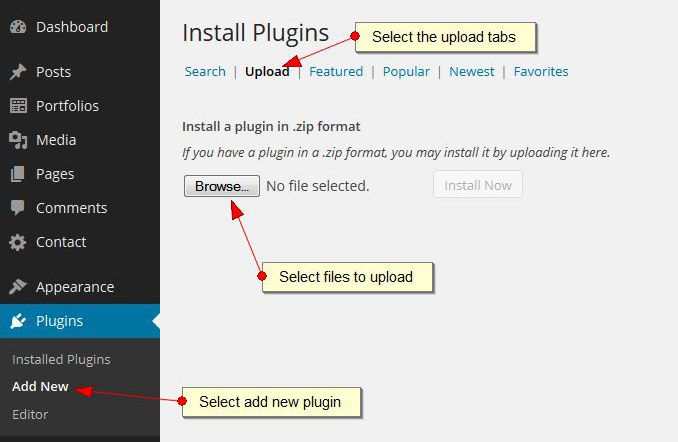
- After that, upload the victheme_property.zip to install the property plugin.
- Optionally you can also upload victheme_agents.zip, victheme_maps.zip, victheme_property_data.zip and contactform7.zip to install additional add on to the property plugin
2. Configuring the Plugin
There are 2 main features in the plugin, Property and Agents, Property is the main plugin for storing Property data, displaying the data using template, shortcodes and/ or widges. While the Agents is the plugin to handle the property data ownership to specific user with property_agents role.
Agents is only needed if you are planning to have multiple user as property agents and allowing them to own one or more property posts data, it is not required to have Agents installed for a single user type site.
Configuring Attributes
First set up the Attributes by clicking on the Attributes button under Agents and Click on the Add new Attribute button and then begin to fill out the forms. First there is Settings, and here we set the attribute with Property Speciality for the Agents to show their property specialist.

Display is to name the Label that we’d like to Display, remember to click on the Show Icon if you want to have an icon appear with the Display and also click on Show Label in order for the Label to be shown.

Icon is for setting the icon if you want to have the icon along with your Attributes. There are few family of icons available including our customize Property icons.

Metabox is to set the Element for the options of the Attributes, there are 5 elements in total and please choose Checkboxes or Text Field if there’s a possibility for the Agent to have more than one option for their Attributes. For example, if we set Cover Area for the Attributes and the options are West, East, North, etc. And the Agent happens to be covering more than one Area (e.g. East and West), please choose Checkboxes or Text Field for the element.

Note: If the Text field is chosen, you don’t need to Manage the Attributes, you can just fill the text on Agent page according to what you want.
After done filling out the form for Attributes, please manage them by click on the Manage yellow button:

After clicked on the Manage button, please manage the Attributes for the options by filling out the form:

Note: You can edit the Attribute by Click on the Edit Blue button if you want to change the default settings.
Now we’ve done setting up the Attributes and move to the next for setting up the Fields.
Same with the Attributes, you can click on the Edit Blue button to change the default settings (Click this if you only need to change the settings) see below image:

There is also a Yellow button which use to set up the Title of Agent (if any) and Country of the Agent located.

After clicked on the yellow button, you can fill out the form according to your needs (see below):

After the set up done, you can click on the Add Agents under Agents on WP dashboard and start Add the property agent.
Add Agents
Now you’re ready to add your property agent. Just remember the Additional Information element at the bottom of the Agent user page was the Attributes which you can set up according to what you need. (see below for an example):

Configuration
Agents Configuration is where you can configure the settings for Agents page.

Configuring Property
Similar with the attributes for Agents, you can set your own attributes for the property. You can also edit the attributes. First we click on Add new attributes:

After done creating attributes, now you can manage them (click the yellow manage button) and begin filling out the child-terms (sub-attributes):

After done with Attributes, now we set up the Field.
Similar to Agents, this field is the basic needs for property and you can edit and change them if you want to use it or not.

But, you need to manage by clicking on the yellow button, this is basically the mandatory in properties. Here, we click on Status for an example:

After done with Fields, now we set up the Types.
First let’s set up the type of the property, and similar with Agents, the settings is for you to create the type of the property whether be it a house, villa, apartment etc. you can fill this type according to what you need.

For the icons, we have Property icons available which is bundled within the plugin and customize to be use for properties.

After that, we set the Attributes that you want it to be attached with the property type.
For example, when you create a house as the property type, you may need to click on Bedroom as the attribute, but you may don’t need this Bedroom if you create for office as the property type.

After done setting up the attributes, now we configure the fields that we’ve set up previously and click on the check mark if you want them to be shown and leave it blank if you don’t need them.

That’s it and now you can start creating list of your properties and Good luck!
If you still need assistance, you can check our guidance here http://documentation.victheme.com/property/
Or check our video here https://vimeo.com/147930649
And if you still need our assistance, you can reach us by submitting ticket for supports here https://victheme.ticksy.com/